
I had the opportunity to test out some new skills in time-lapse photography this week. So, after reading many articles and watching a couple hours of YouTube videos, I had my trial by fire…in the cold of December. I found a few things to be true…
- December outdoor time-lapse shoots are cold. Bring layers.
- Shooting time-lapse of buildings in a crowded city is tough when you don’t have a crane.
- Get a timer remote control for your DSLR, many models don’t have that function internally.
- Read many articles, blogs and/or youtube videos on how to make a quality time-lapse before shooting your first one.
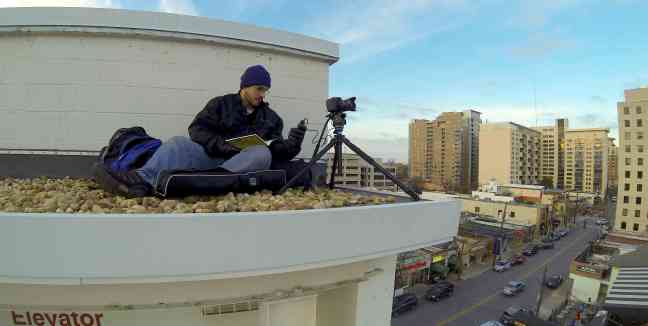
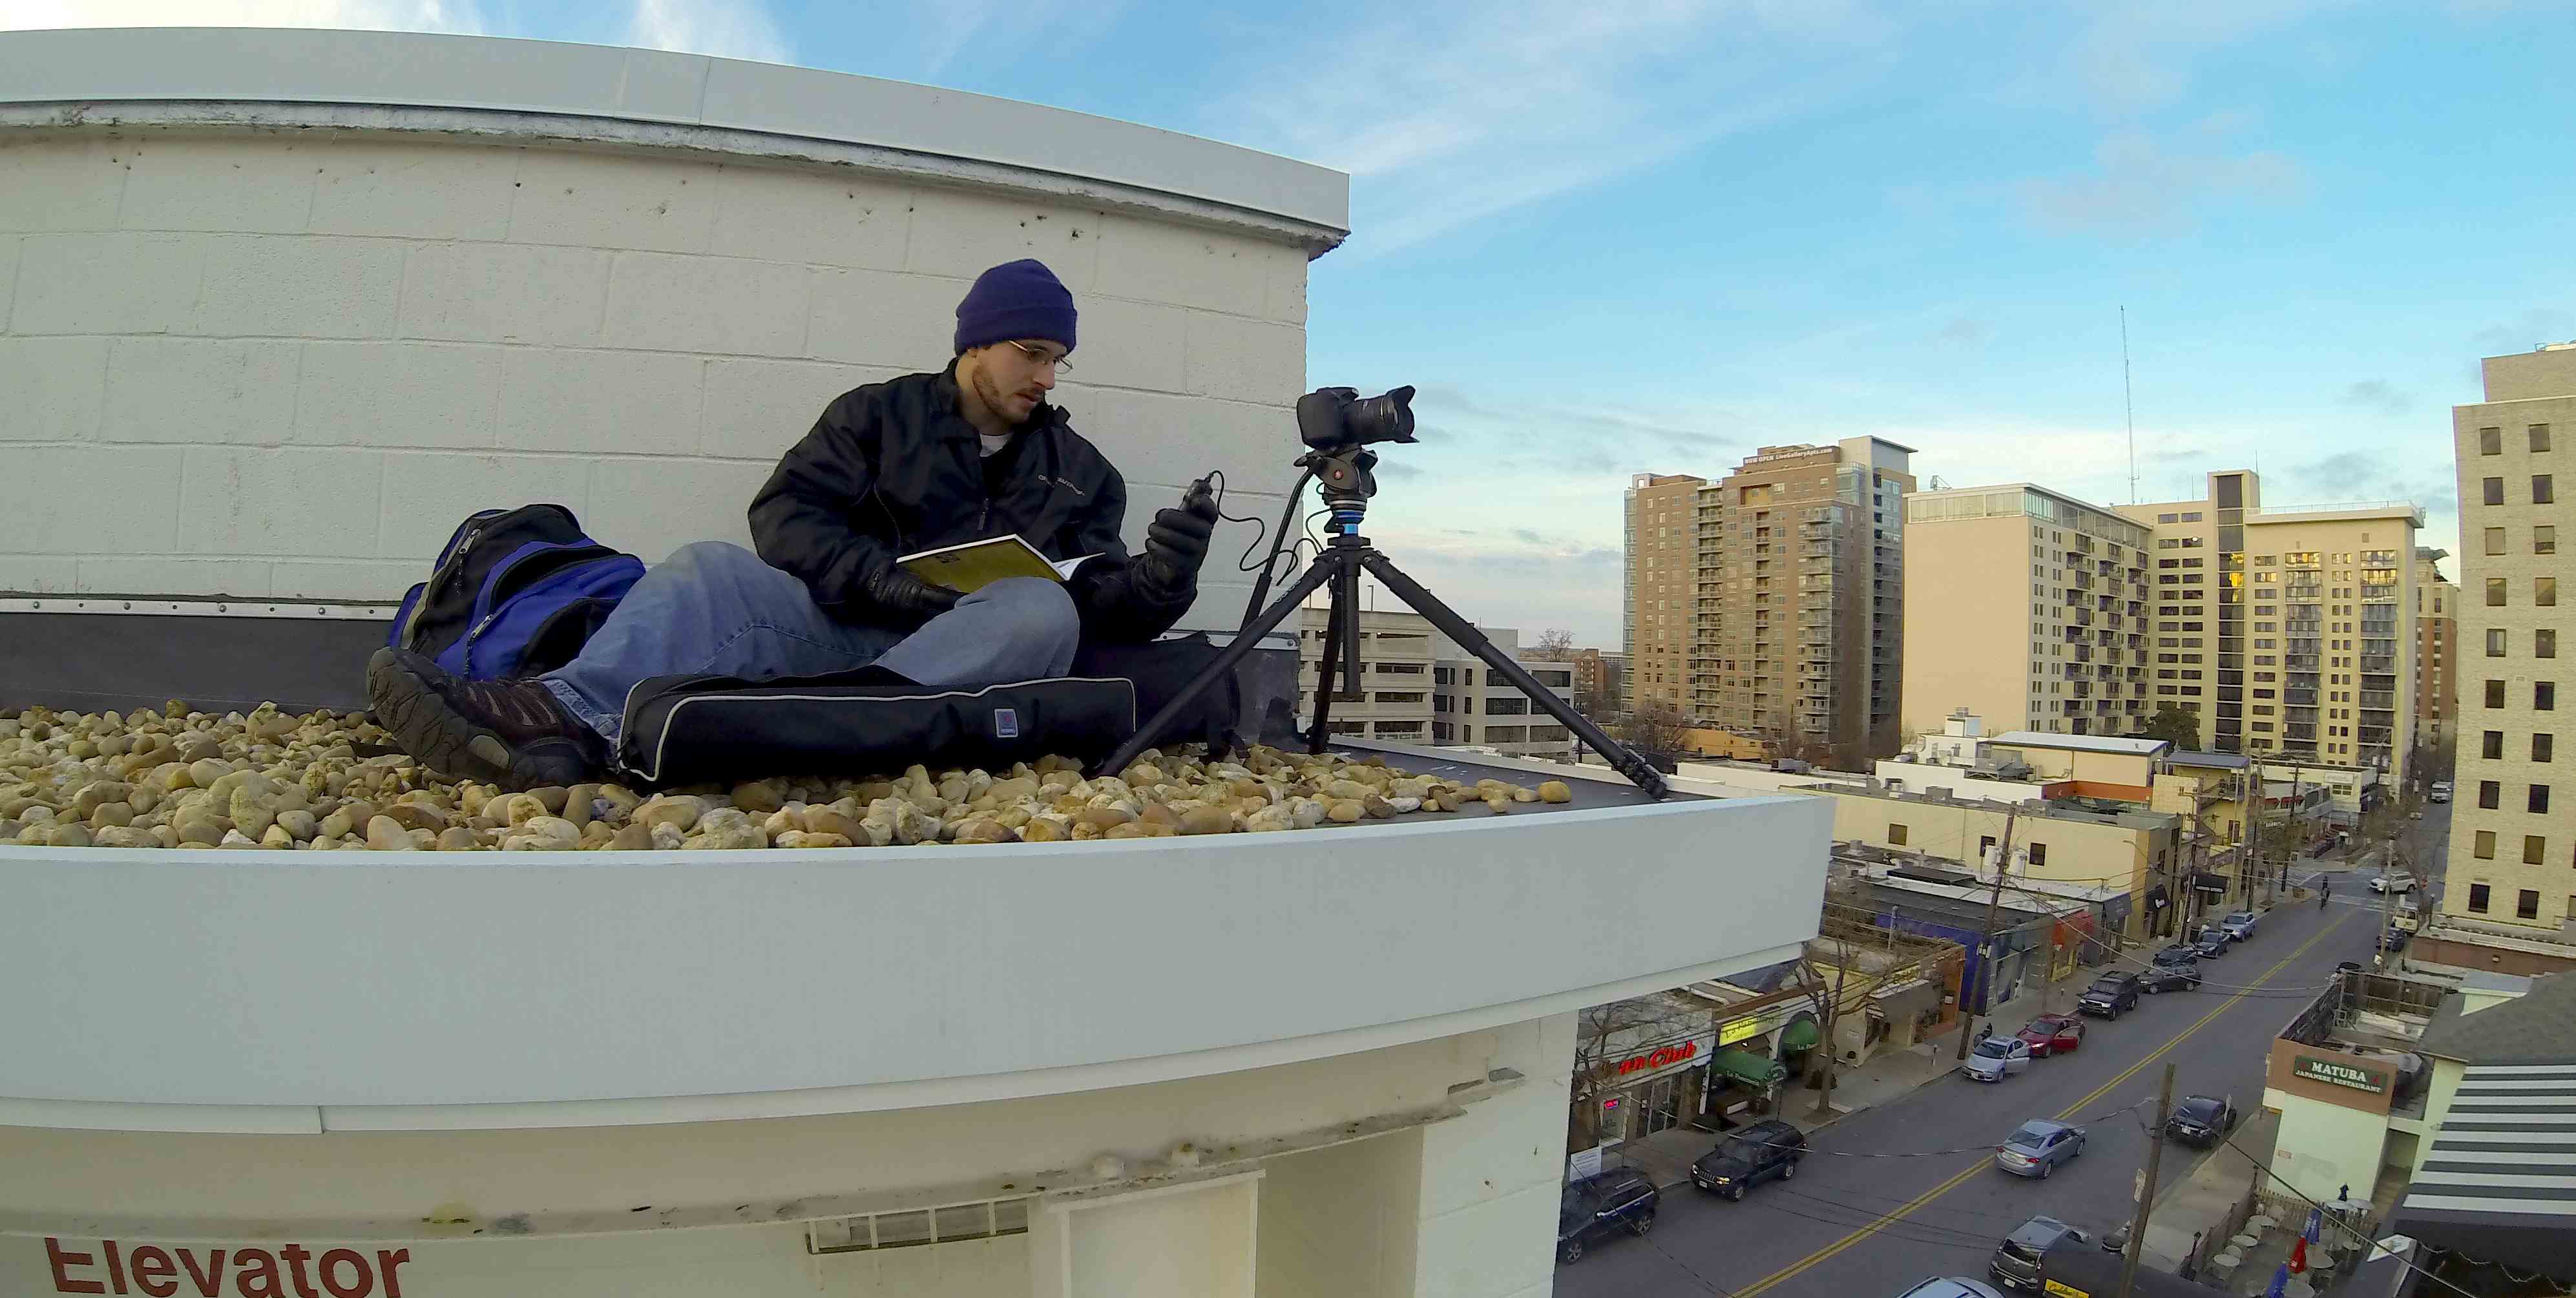
For my time-lapse shoot, I was perched on a parking garage shooting footage of an apartment building.
My equipment was a Canon 60D with a Benro tripod, a Manfrotto head, a JJC Timer Remote Control and a Sigma 10-20mm wide angle lens. I also had a GoPro Hero3 on a light stand to get a second perspective in case I needed a backup.
On the topic of time-lapse photography, this article has some useful information and examples for those interested in doing some high quality sequences. To summarize, here are the main points:
1. Plan, Plan, Plan – You often have one shot to get a great time-lapse. Get it right by thinking about everything from location of the camera to the location of the sun, moon, street lamps, etc. This is a great resource for time-lapse photographers to plan shoots Photo Transit
2. Don’t Forget Anything – Make sure to pack a little more gear than you think you might need (extra batteries, media storage, tripod, camera). But don’t forget about yourself. Make sure to pack food, appropriate clothes and a good book while your camera does its thing.
3. Tripod – A solid tripod is a must. If it’s light think about weights to make sure it doesn’t move during the recording of your time-lapse.
4. Framing – Don’t get caught in the excitement of the moment so much that you forget to find the perfect spot with the best framing. Time-lapse sequences are interesting, but you still need to have an interesting composition to make the video look truly exceptional.
5. Basic Camera Settings – Make sure your camera is on Manual mode as any other mode will cause a flicker in a time-lapse when the camera changes settings from one shot to the next. Also, make sure to focus on your subject at the beginning and then switch to manual focus so the camera doesn’t focus hunt for each shot.
6. Live View – allows you to see what your shot looks like in real time. It tends to use battery power at a faster rate, but if you’re camera can handle it, live view is a great way to make sure you’re maintaining a great image.
7. Focus Accurately – As stated before, don’t leave the camera on auto focus for a time-lapse. Focus your shot at the beginning and then switch to manual focus so the camera isn’t searching for each shot.
8. Avoid Flicker – Keep the camera in Manual mode. Any other mode will cause flicker from shot to shot
9. Choose Correct Interval – For slow moving clouds use roughly 10 second intervals, Fast moving clouds should be 4 Seconds, People walking by should be 2 seconds. Of course these are guides that can be altered if needed, but these are base guidelines to start from.
10. Knowing the length of your “time-lapse” – Make sure you record enough frames to make an adequate clip for your project. Usually a minimum of 250 photos will make about a 10 second clip for a video project.
Now that I stole all the information from that other website you can go there glean more information from their site. Happy shooting!
